Underwater Photography: Lights, Cameras, Action

Creating photos and images on land varies a bit from creating them underwater. Showing a healthy respect for both art forms, you deal with completely different environments and challenges on land and in the water. Breaking it down further, you need different equipment if you’re photographing at night rather than during the day. So let’s break down the gear you need to capture those awe inspiring underwater photographs and videos.
Lights
With so many options to choose from, it can get a bit overwhelming as you navigate which underwater light (or lights) you need, which brightness will serve you best, which filters you’re going to want, and what other photography accessories will be beneficial. Possibly the toughest question to answer is just how many lights you really need for marine photography. As with all things photography, everything is subjective. To complicate it even more, you might want a totally different setup based on the type of dive you’re doing and the conditions. Depth, time of day (or night), visibility, and your subject all come into play when deciding on your lighting for underwater photography.
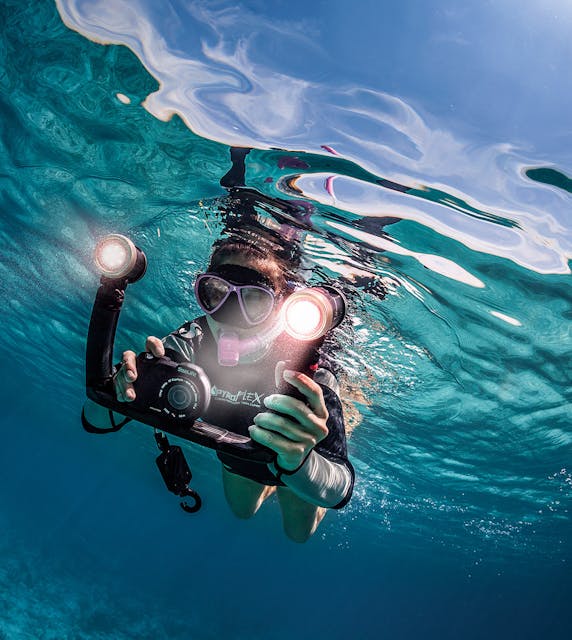
Shooting within a few feet of the surface, you won’t need lights if you’re in clear water and the weather is cooperating. And just like shooting on the surface, that ‘golden hour’ effect comes into play as the sun is rising and setting. However, light reflects off the water and even though it can be nice and bright below the surface, you start to lose the vibrance of colors as you descend. So even at about 6 feet underwater, you’re going to want to use a flash. Note that when shooting wide angle scenes underwater, the best times to shoot are 11am to 2pm. This is when you get the most light penetration from the surface allowing your images to include the blue water as a backdrop..
When we talk about visibility, we have to address particles in the water. Even in the clearest water, particles are present and account for what is referred to as backscatter. When shooting underwater, you want to be as close to your subject as possible to reduce the amount of particles in the water between your lens and your subject. These particles reflect light and can turn a potentially jaw dropping underwater photo into a fuzzy, seemingly out of focus dud. Since particles reflect light, shooting with your lights straight on your subject can make the image look quite grainy as well. This is why you see underwater camera setups with adjustable arms. You can angle the light(s) so you achieve the brightness you want without light reflecting off all the particles in the water.
Considering your subject and the environment you’re taking photos and videos in, you’ll want to choose between strobes and continuous lights. You might choose to use both and there is always the consideration of a focus light to help you get everything set and in focus prior to the image being captured. Strobes are best for subjects that are still (models, underwater structures, and the reef) as well as when shooting macro (the tiniest of creatures). And at times, you might want to set up backlighting for these shoots or focus your lens upward to take advantage of the sun beaming down. Constant lights are best used when shooting video and allow you to capture subjects that are moving, so you’ll want to use at least one when attempting to capture those fish, that shark, and even that sea turtle.
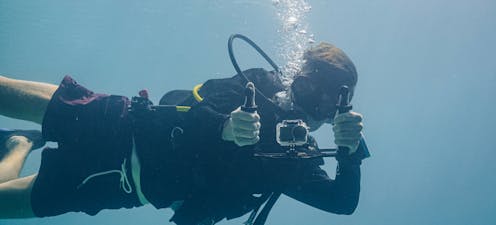
Having a tray to attach your camera and lights to makes marine photography much easier. And attaching your lights to those adjustable arms, you’ll quickly get the lighting right for that awe inspiring underwater photo.
Cameras
How do you know which waterproof camera is right for you? It really depends on your level of expertise and personal preferences. From point and shoot to a fully adjustable DSLR in a waterproof housing, your options are limitless. And much like any hobby, underwater photography can get to be a bit expensive. There are a plethora of underwater and sports/action cameras to choose from today and though we won’t exhaust the list of possibilities, we will focus on the most popular and economical options for marine photography. So let’s dive into what we consider the easiest and most user friendly underwater cameras.
GoPro® cameras have been around a few years and with each new release, they develop better and better technology. Affordable to get into, easy to operate above and below the surface, and waterproof down to about 33 feet, it’s ready to get wet and start recording right out of the box. Of course, if you want to take it deeper, you just need to get a waterproof housing and off you go. Offering photo and video capabilities, GoPro® even offers an app through which you can manage your creations. With plenty of mounts and accessories, these handy little underwater cameras are easy to take along on any adventure.
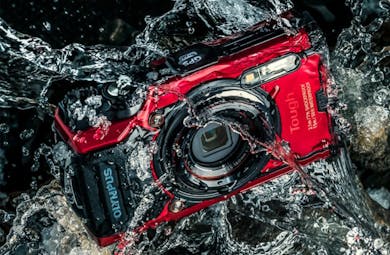
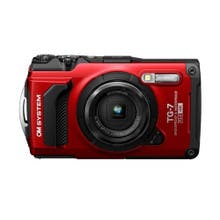
The Olympus TG-7 Waterproof Camera has a proven track record and delivers on value and quality at the same time. Everyone who’s used this camera falls in love and says it rivals some of the more complicated setups without all the expense and hassle. Waterproof on its own down to about 50 feet, if you want to take this one further, just grab the Olympus PT-059 Underwater Housing and you’re all set down to about 140 feet below the surface. Whether you’re operating this camera in or out of the housing, you’ll enjoy full control of all your camera’s functions. Need to white balance? No problem, this underwater camera makes it super easy to get the color correct on all your photos and videos. And with preset modes and programmable mode options, you’ll have your favorite settings dialed in quickly so you can start sharing some amazing aquatic images.
SeaLife provides you with two main options. The first is the SeaLife SportDiver Ultra Smartphone Underwater Housing. This allows you to place your compatible phone in the housing and go take underwater photos and videos. It doesn’t get much simpler than that and you’re already familiar with your phone’s photo and video capabilities. Talk about reducing the learning curve. The other option is to pick up one of their underwater cameras (with or without the light and tray) and head for the water. These cameras are waterproof to at least 130 feet straight out of the box with no additional housing. Delivering some pretty amazing marine photos and videos, this line of cameras was developed specifically for underwater photography and videos.
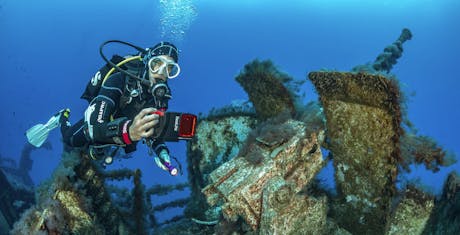
Action
Now that you’ve got the gear dialed in, all that’s left is for you to decide what your subjects will be…and, of course, whether or not you need to pursue certifications to accomplish your dreams. If you dream of diving down and taking underwater photos, but you’re not yet a scuba diver, you’ll want to get your open water scuba certification first. And if you’re looking to photograph wrecks, caves, or things beyond recreational scuba certification limits, you’re going to want to attain the proper certifications before venturing into those environments. Safety first.
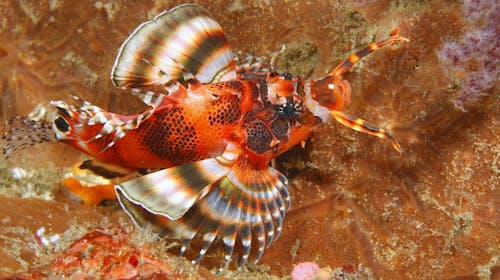
Once you have that all ironed out, perhaps you want to do a shark dive and capture those beauties on film. Or head to the world renowned Blue Heron Bridge and try your underwater photography equipment out there as you search for seahorses, octopuses, frog fish, and eels. If you’re truly up for adventure and ready to capture whatever might wander into your view, perhaps you’re down for a reef or wreck dive.
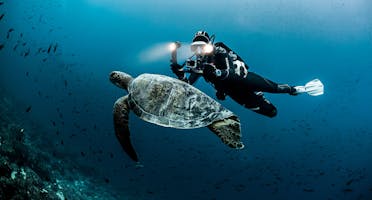
Note that it’s easier to capture still life, especially underwater, than anything that is moving. So if you’re focused on coral reefs, you can hover and refine your technique until you get the image you want. Whereas if you’re chasing down that sea turtle…you’ll likely get one shot.
That’s a Wrap
As we head for a surface interval, we leave you to ponder which camera, lights, and environments you’ll venture into as you navigate the world of underwater photography. Hopefully we’ve shed a bit of light on your options and made it easier to determine which setup resonates with you and your goals.
Welcome to the world of underwater photography.
Underwater Photography FAQ
How do I start Underwater Photography?
We recommend researching underwater cameras and finding the solution that is right for you. If you’re snorkeling and taking underwater photos, you can jump in and start snapping images immediately. You’ll refine your skills with each minor adjustment and get it dialed in. If you’re diving, you’ll want to make certain you have the proper certifications first for the environments you’ll be diving in. Next, you can either hop in and figure it out on your own or take an Underwater Photography course to learn some tips and tricks.
How is Underwater Photography done?
Select the right waterproof camera setup for what you’re aiming to do, make certain you have all the right certifications (if necessary), drop in, and start taking photos and videos. Methodically adjust settings and take multiple images of the same thing to refine your skills so that you can see what worked and what didn’t work. Now you’re down to editing the images and videos as necessary and you’re ready to share.
What makes good Underwater Photography?
Attention to detail, getting as close to your subject as possible, proper lighting, and great visibility all factor into a quality underwater image or video. Understanding bubbles and how to avoid them or use them to your advantage in marine photography is key when photographing people. An interesting subject and using the rule of thirds also plays into a quality underwater image.
What is White Balancing?
White balancing allows you to correct for color distortion at depth so your images reflect the true colors of the environment you’re diving in. With white balancing, you’re telling the camera what is white so it can adjust everything else in proper proportion.
How do I naturally lighten or darken the background in an Underwater Photo?
Shutter speed. A fast shutter speed will deliver a darker background while a slower shutter speed will give you a lighter background.


